
Emergency Food Storage Basics
Emergency Food Storage Basics: Build a Resilient Pantry Before Crisis Hits
When disaster strikes — hurricanes, grid failures, supply‑chain breakdowns, or even a sudden job loss — your food supply becomes your lifeline. Emergency food storage isn’t about hoarding cans or buying the longest shelf‑life bucket you can find. It’s about building a system: familiar foods, safe water, reliable tools, and a rotation routine that keeps your pantry usable year‑round.
Below is your complete beginner‑friendly guide to building a pantry that actually works when the lights go out.
Start With People, Not Products
Before you buy anything, write down who your pantry must support:
- Adults and kids
- Infants or older adults
- Anyone with medical or dietary needs
- Food allergies or intolerances
- Pets (food, water, meds)
- What cooking methods remain safe without electricity
This step prevents wasted money and ensures your emergency pantry matches your real‑world needs.
Layer 1: Your First 3 Days — No‑Cook Essentials
Your first layer should work without refrigeration, heat, or running water. These foods keep stress low and calories steady during the initial chaos.
Smart no‑cook staples include:
- Canned beans, tuna, chicken
- Peanut butter or nut/seed butter
- Crackers
- Ready‑to‑eat grains
- Shelf‑stable milk
- Fruit packed in juice
- Single‑serve meals to avoid leftovers
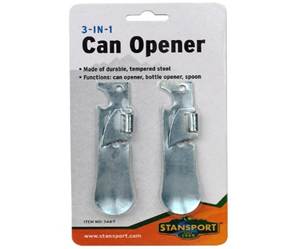
Critical tool: a manual can opener — keep it with the food, not in a random drawer.
Relevant Gear From our Store
Layer 2: Build a Two‑Week Menu
Once your 3‑day no‑cook layer is solid, expand to low‑fuel meals:
- Pasta + jarred sauce
- Couscous + canned vegetables
- Oatmeal
- Soups
- Beans + ready rice
The goal isn’t gourmet variety — it’s a repeatable menu your family can eat under stress. Use a simple rotation system so nothing expires unnoticed.
Relevant Gear from our Store
Layer 3: Long‑Term Storage (Bulk Staples & Freeze‑Dried Food)
Only after layers 1 and 2 are complete should you add long‑term items:
- White rice
- Beans
- Honey
- Salt
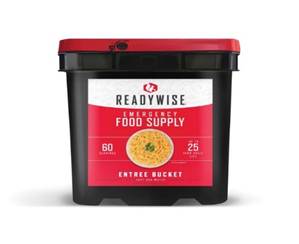
- Freeze‑dried meals
- Dehydrated staples
Shelf‑life differences matter:
- Freeze‑dried foods last 15–25 years and retain ~97% of original nutrition.
- Dehydrated foods last 1–2 years at home and retain ~60% of nutrition.
Bulk staples can last 25–30 years when properly packaged. Temperature is the biggest enemy — every 18°F increase above room temp cuts shelf life in half.
Relevant Gear from our Store
How Much Food Do You Actually Need?
A simple rule: 2,000–2,500 calories per adult per day during emergencies.
A 3‑month supply for one adult = 180,000–225,000 calories. A family of four = 700,000–900,000 calories.
Start with:
- 72 hours
- Then 2 weeks
- Then 1 month
- Then 3 months
This step‑by‑step approach keeps the process affordable and manageable.
Storage Conditions That Protect Your Investment
To maximize shelf life:
- Store food in a cool, dry place
- Avoid garages or sheds that hit 100°F (MREs degrade fast at high temps)
- Use airtight containers
- Keep food off concrete floors
- Label everything with purchase and expiration dates
Don’t Forget Water
Food is useless without water.
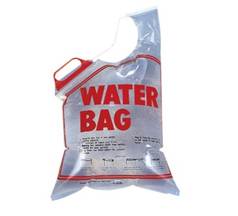
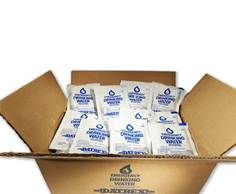
Baseline: 1 gallon per person per day — half for drinking, half for hygiene.
Relevant Gear From our Store
Essential Tools for Emergency Food Storage
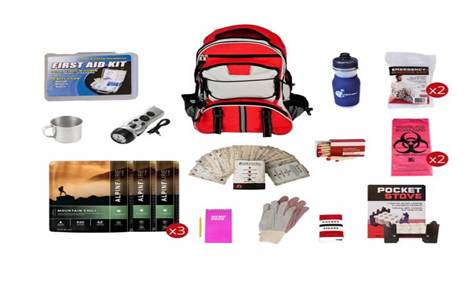
These tools make your pantry functional during outages:
- Manual can opener
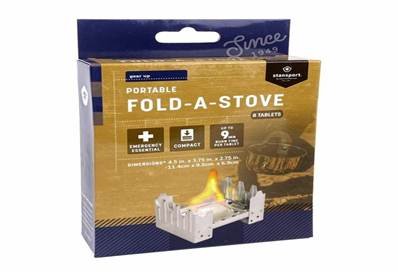
- Portable stove
- Fuel canisters
- Water filter
- Mylar bags + oxygen absorbers
- Buckets with gamma‑seal lids
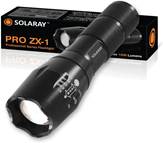
- Flashlights and lanterns
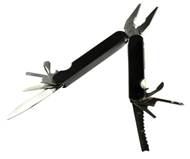
- Multi‑tool
Relevant Gear From our Store
Final Thoughts
Emergency food storage isn’t about fear — it’s about control, comfort, and resilience. When your pantry is stocked, organized, and tested, you eliminate panic and protect your family from the chaos that follows any disaster.
Build your layers. Rotate your stock. Keep your tools ready. When crisis hits, you won’t be reacting — you’ll be executing.
